|
|
7 years ago | |
|---|---|---|
| .. | ||
| images | 7 years ago | |
| README.md | 7 years ago | |
README.md
Login to OpenShift with your Google Account
Context
As Solution Architect or Consultant at Red Hat, we often spin up new OpenShift clusters. By convenience, those clusters are often in the Cloud and are publicly facing the Internet.
This is very convenient because we can share those clusters with team mates, and being public on the Internet, we can work from anywhere.
But most of us, would just create a default admin account, very originally named
admin with a password that ranges from redhat to redhat123.
And instead of creating a user account for our team mates, we would just share
this admin account with them.
As recent news showed us, no password at all or dumb passwords are a bad practice.
What if we could just re-use our Red Hat account on all our OpenShift clusters and login with this same account on all the OpenShift clusters of our team mates?
No hard-coded admin account. No dumb password.
Let's configure OpenShift to use the Google Identity Provider of Red Hat !
Setup an OpenID Connect client in the Google Console
- Go to the Google Developer Console.
- Make sure
redhat.comis selected in the top left corner. - Click on
create.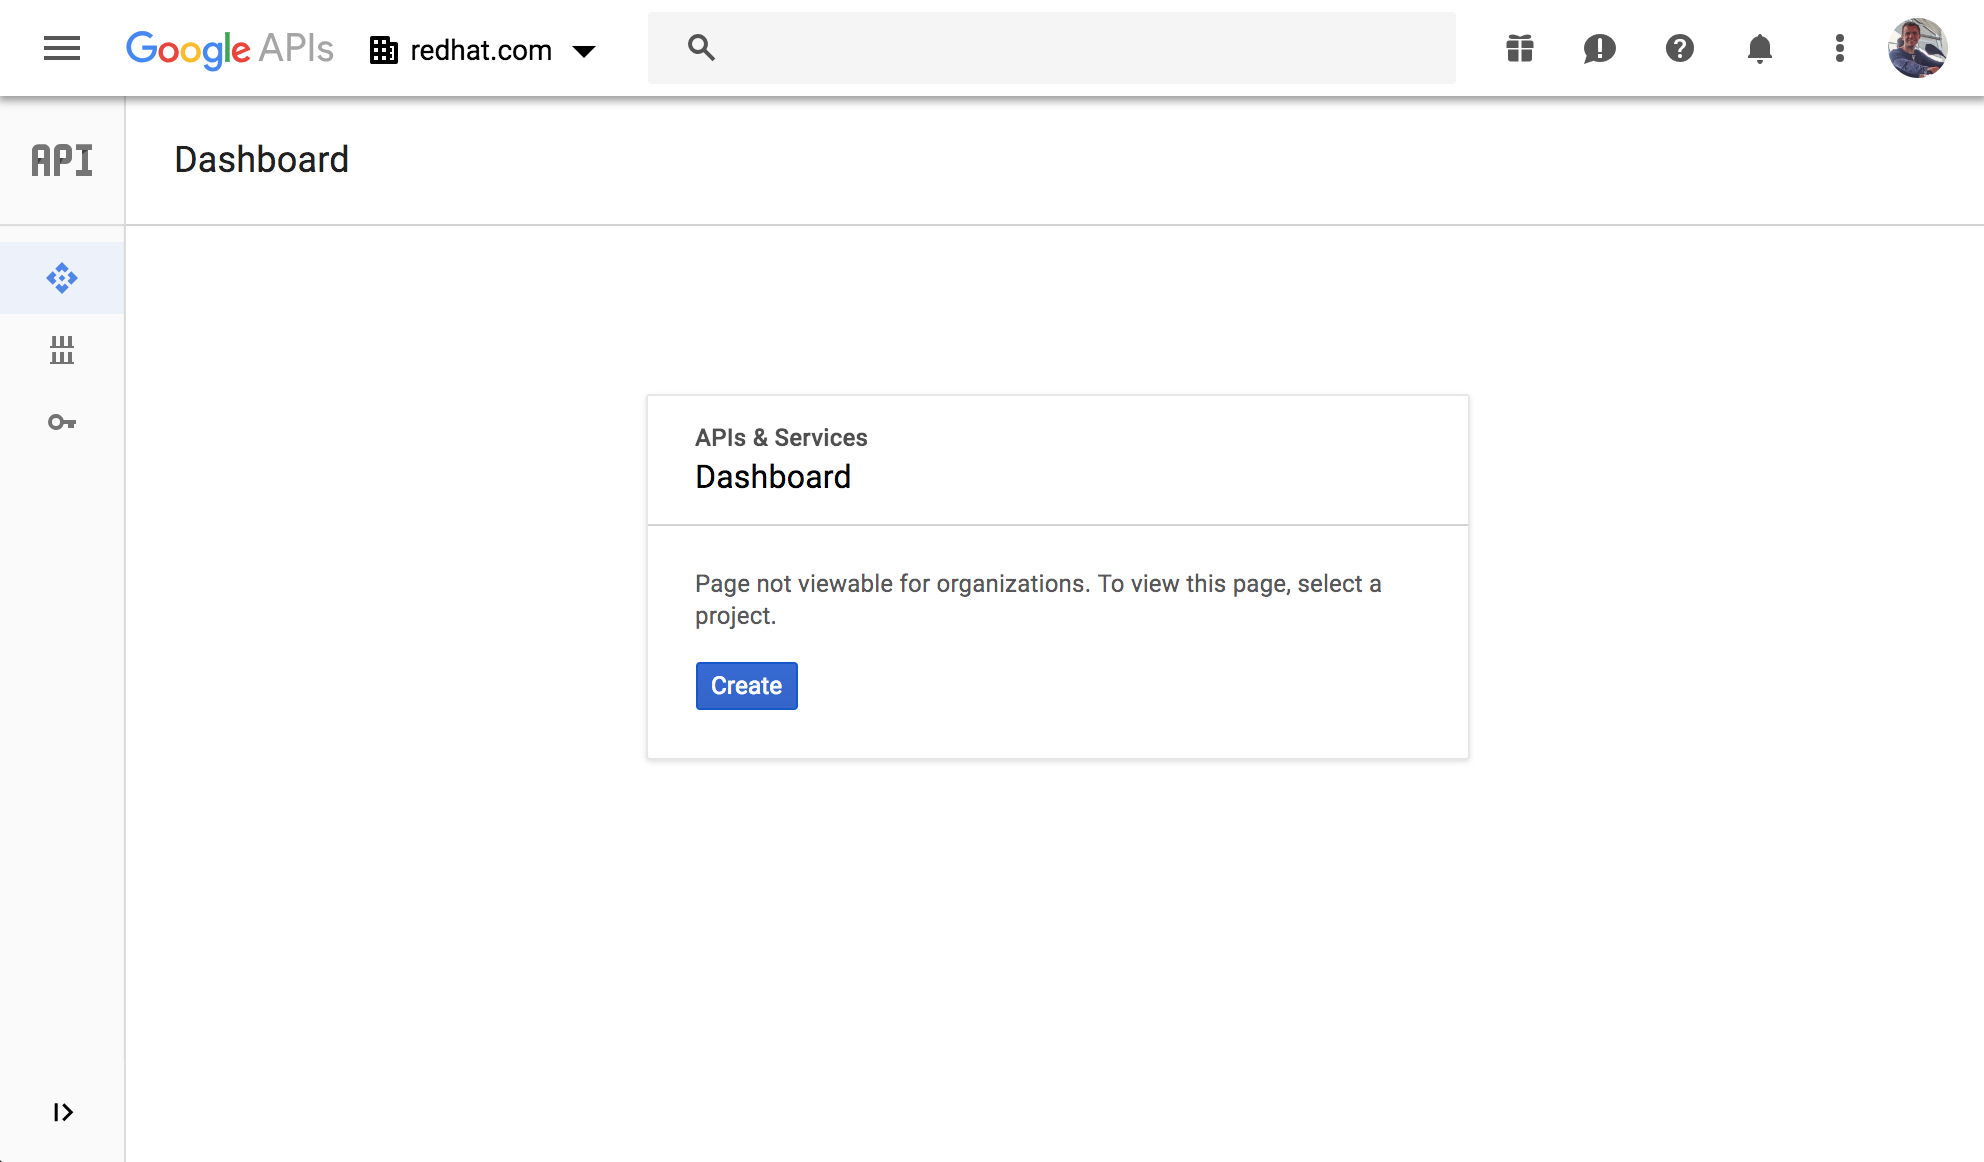
- Choose a unique project name. (hint: include your redhat login in the project name)
and click
Create.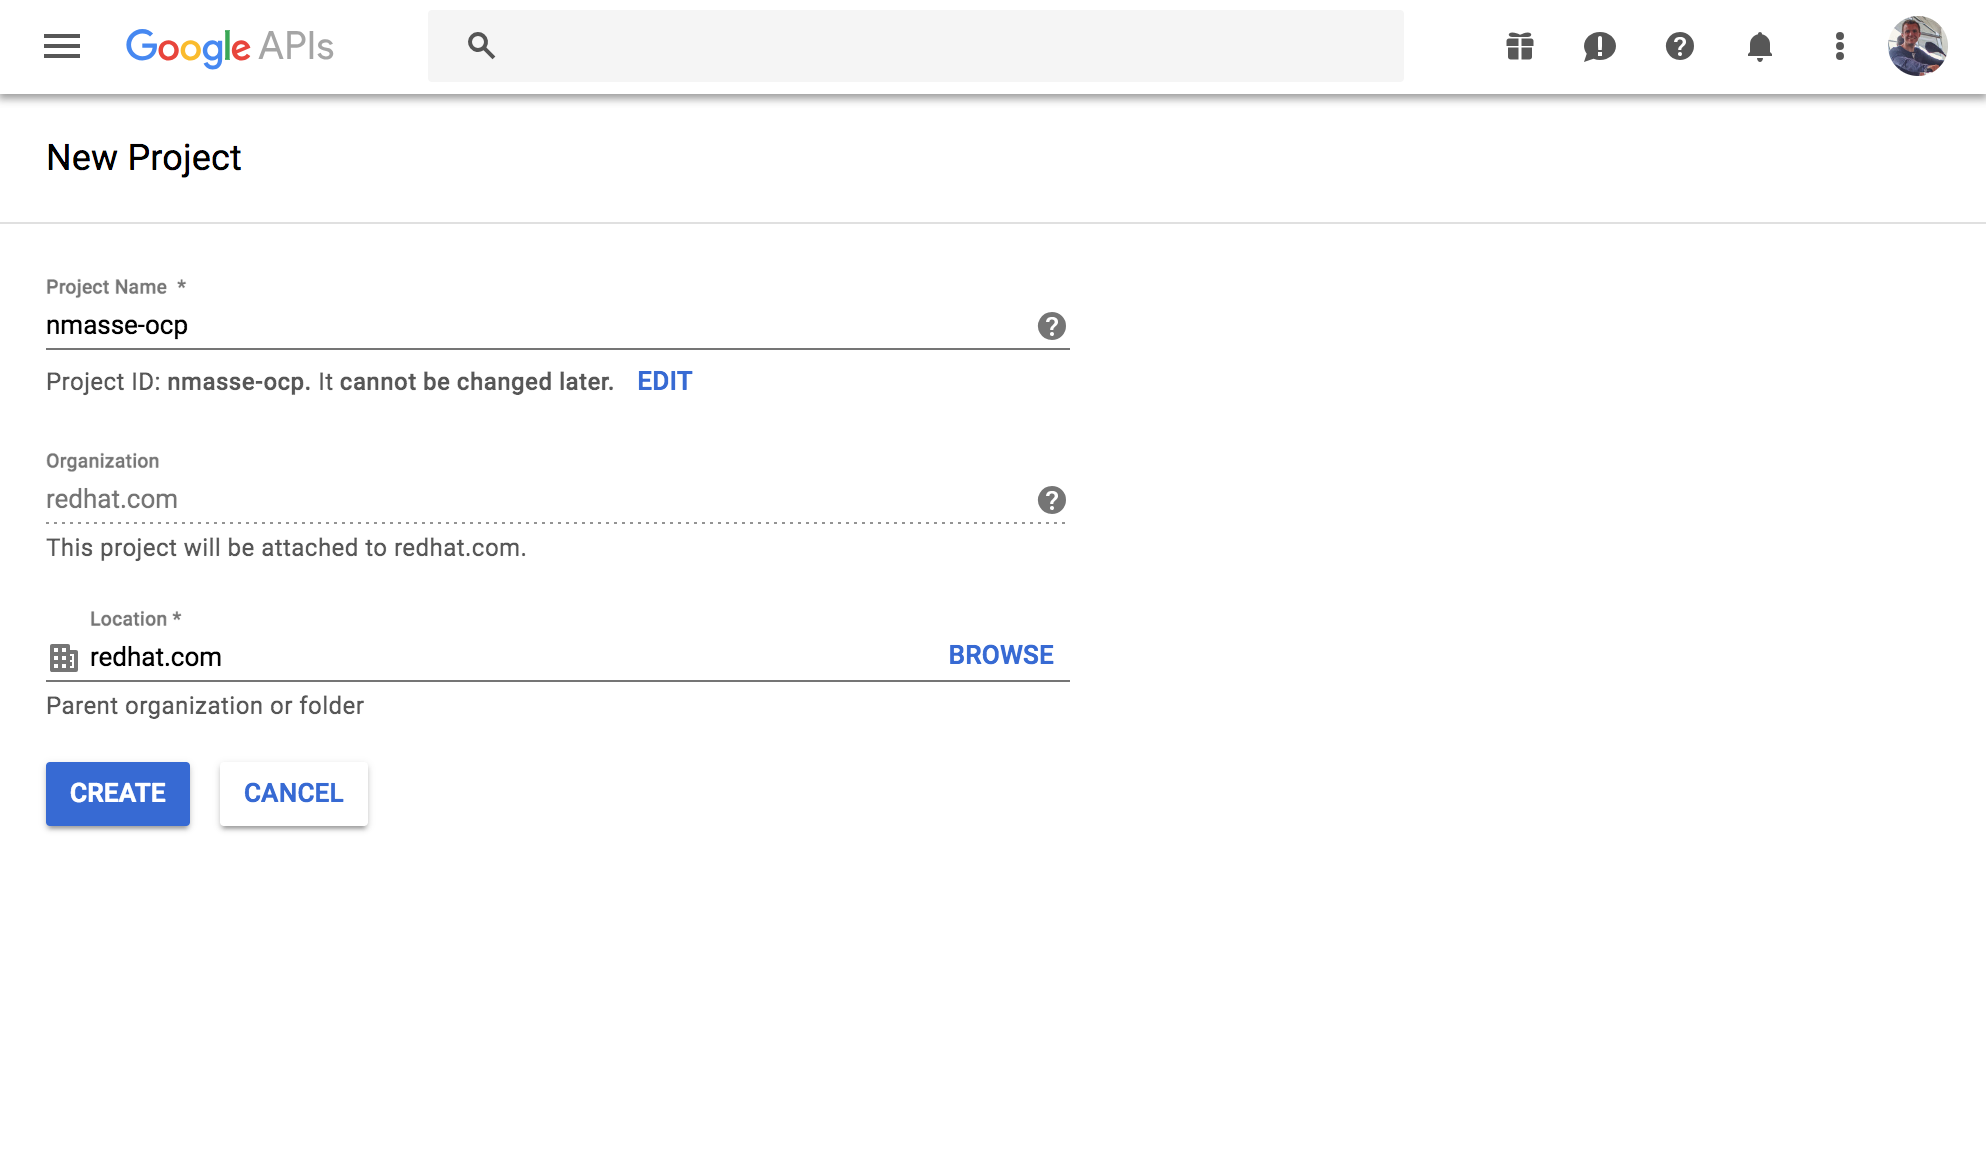
- Make sure your newly created project is selected in the top left corner and
click on
credentialsin the left sidebar.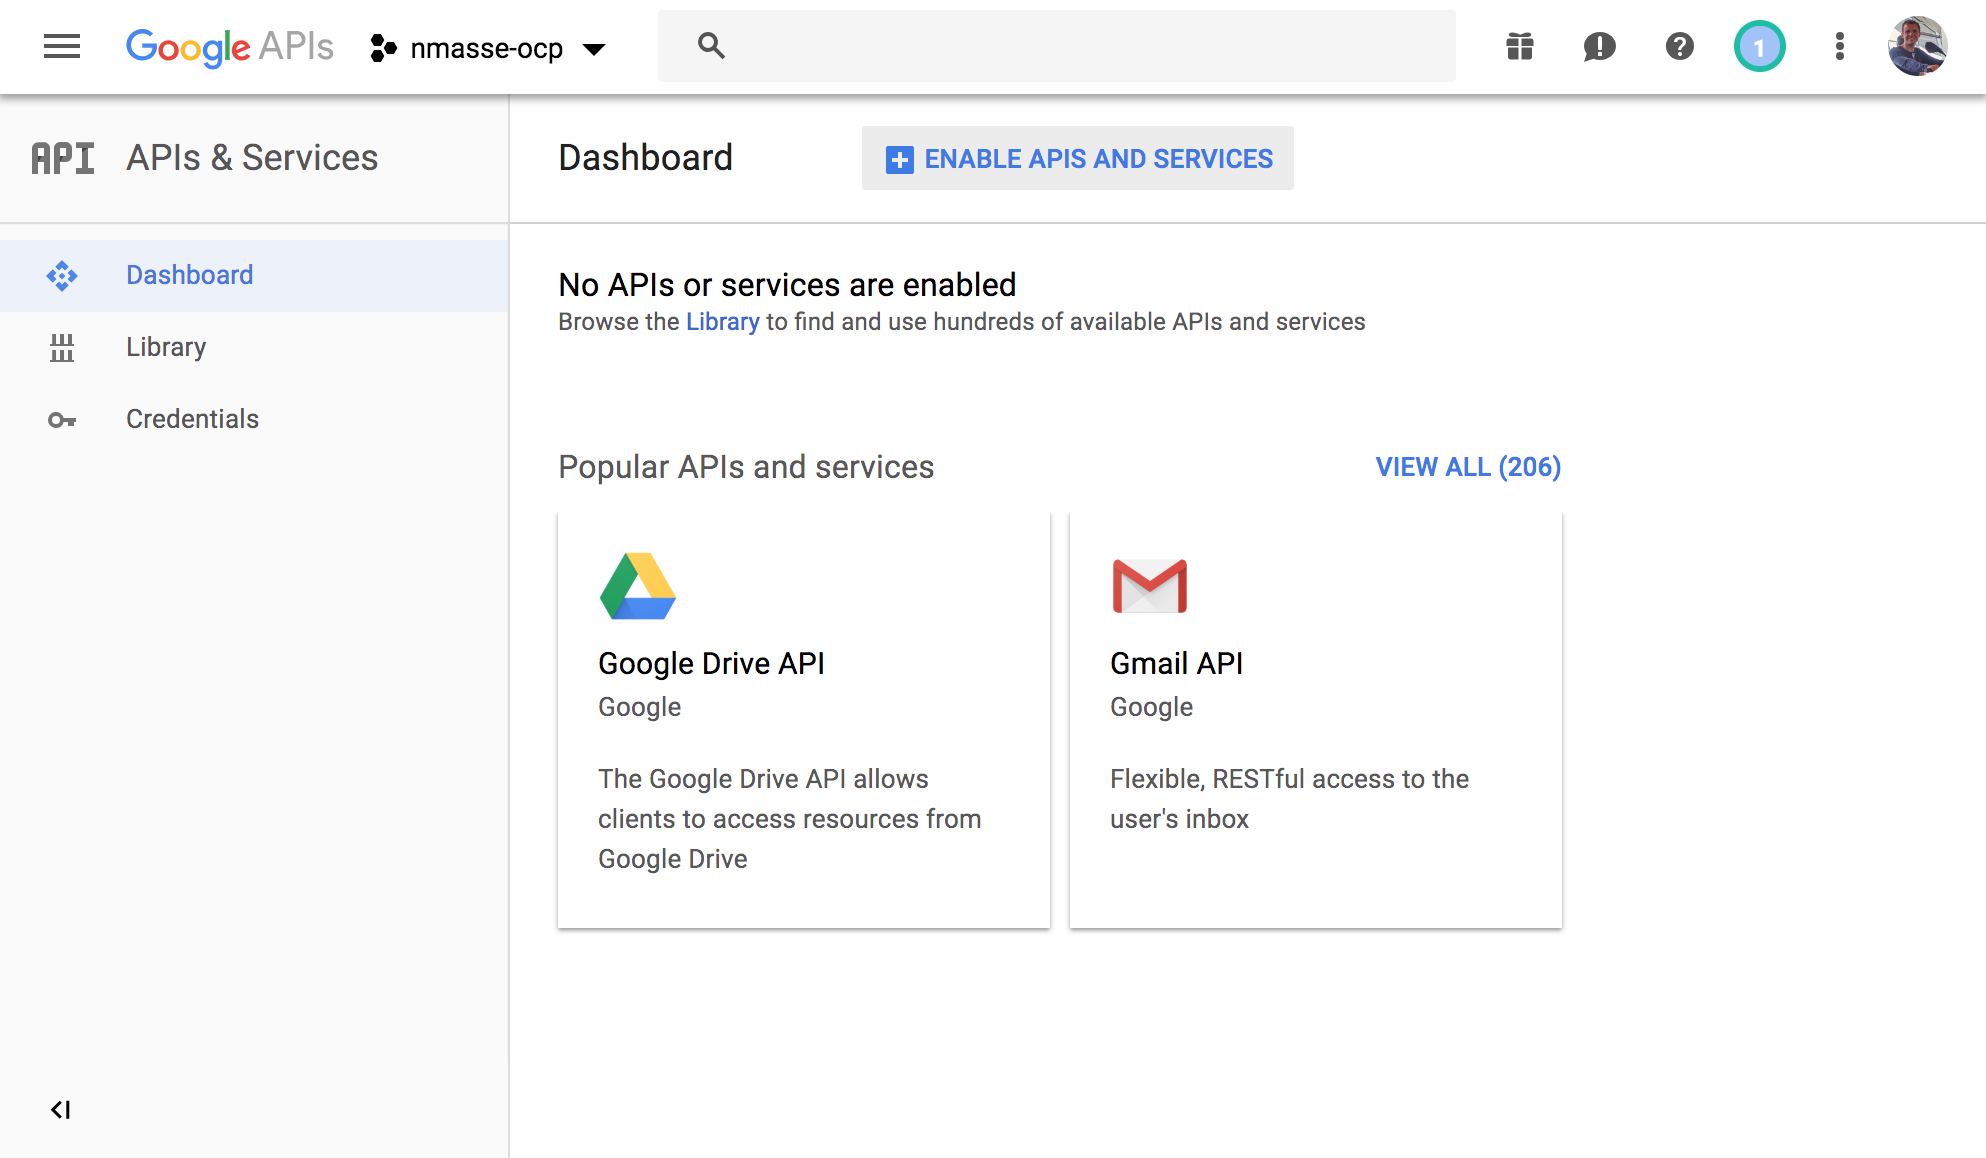
- Click on
Create credentialsand selectOAuth Client ID.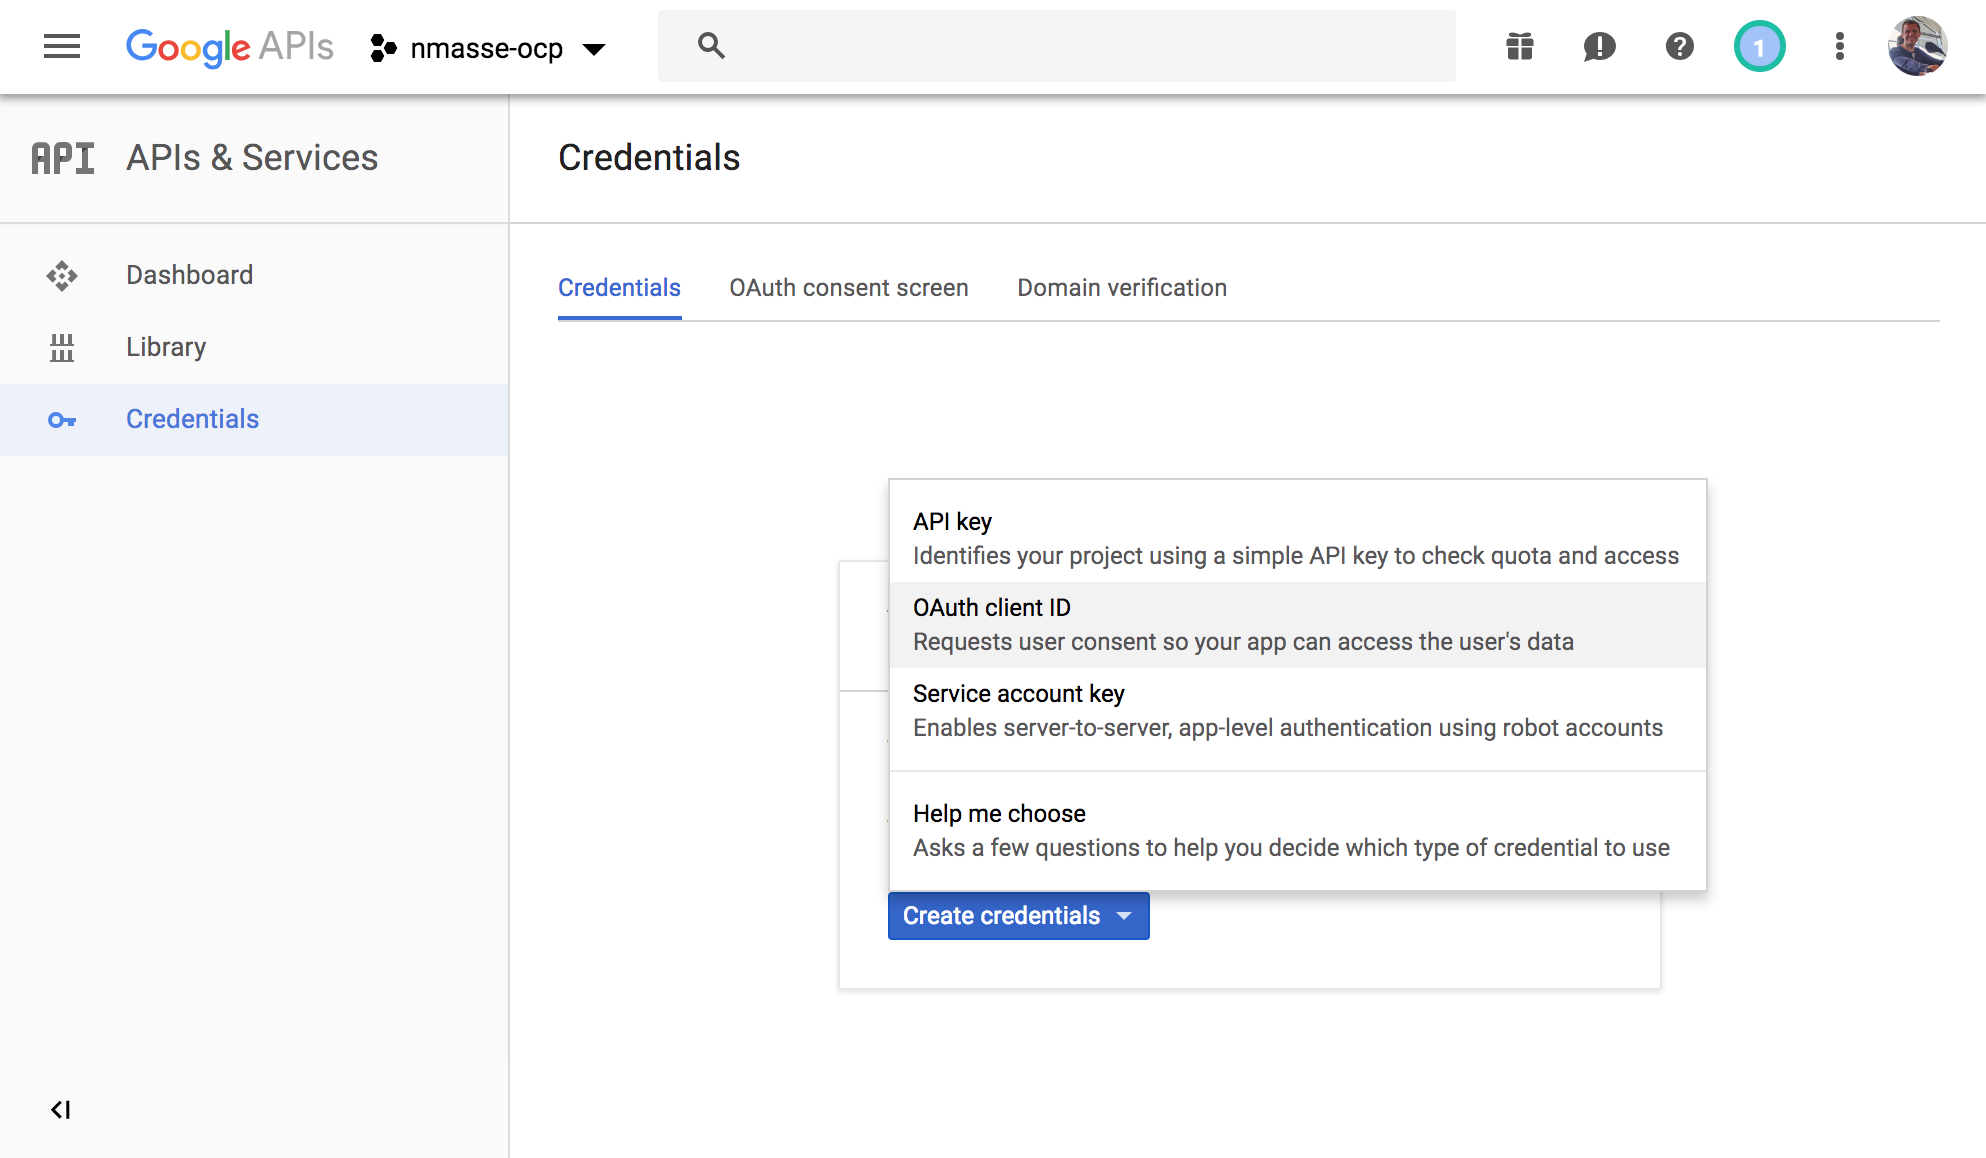
- Click
Configure Consent Screen.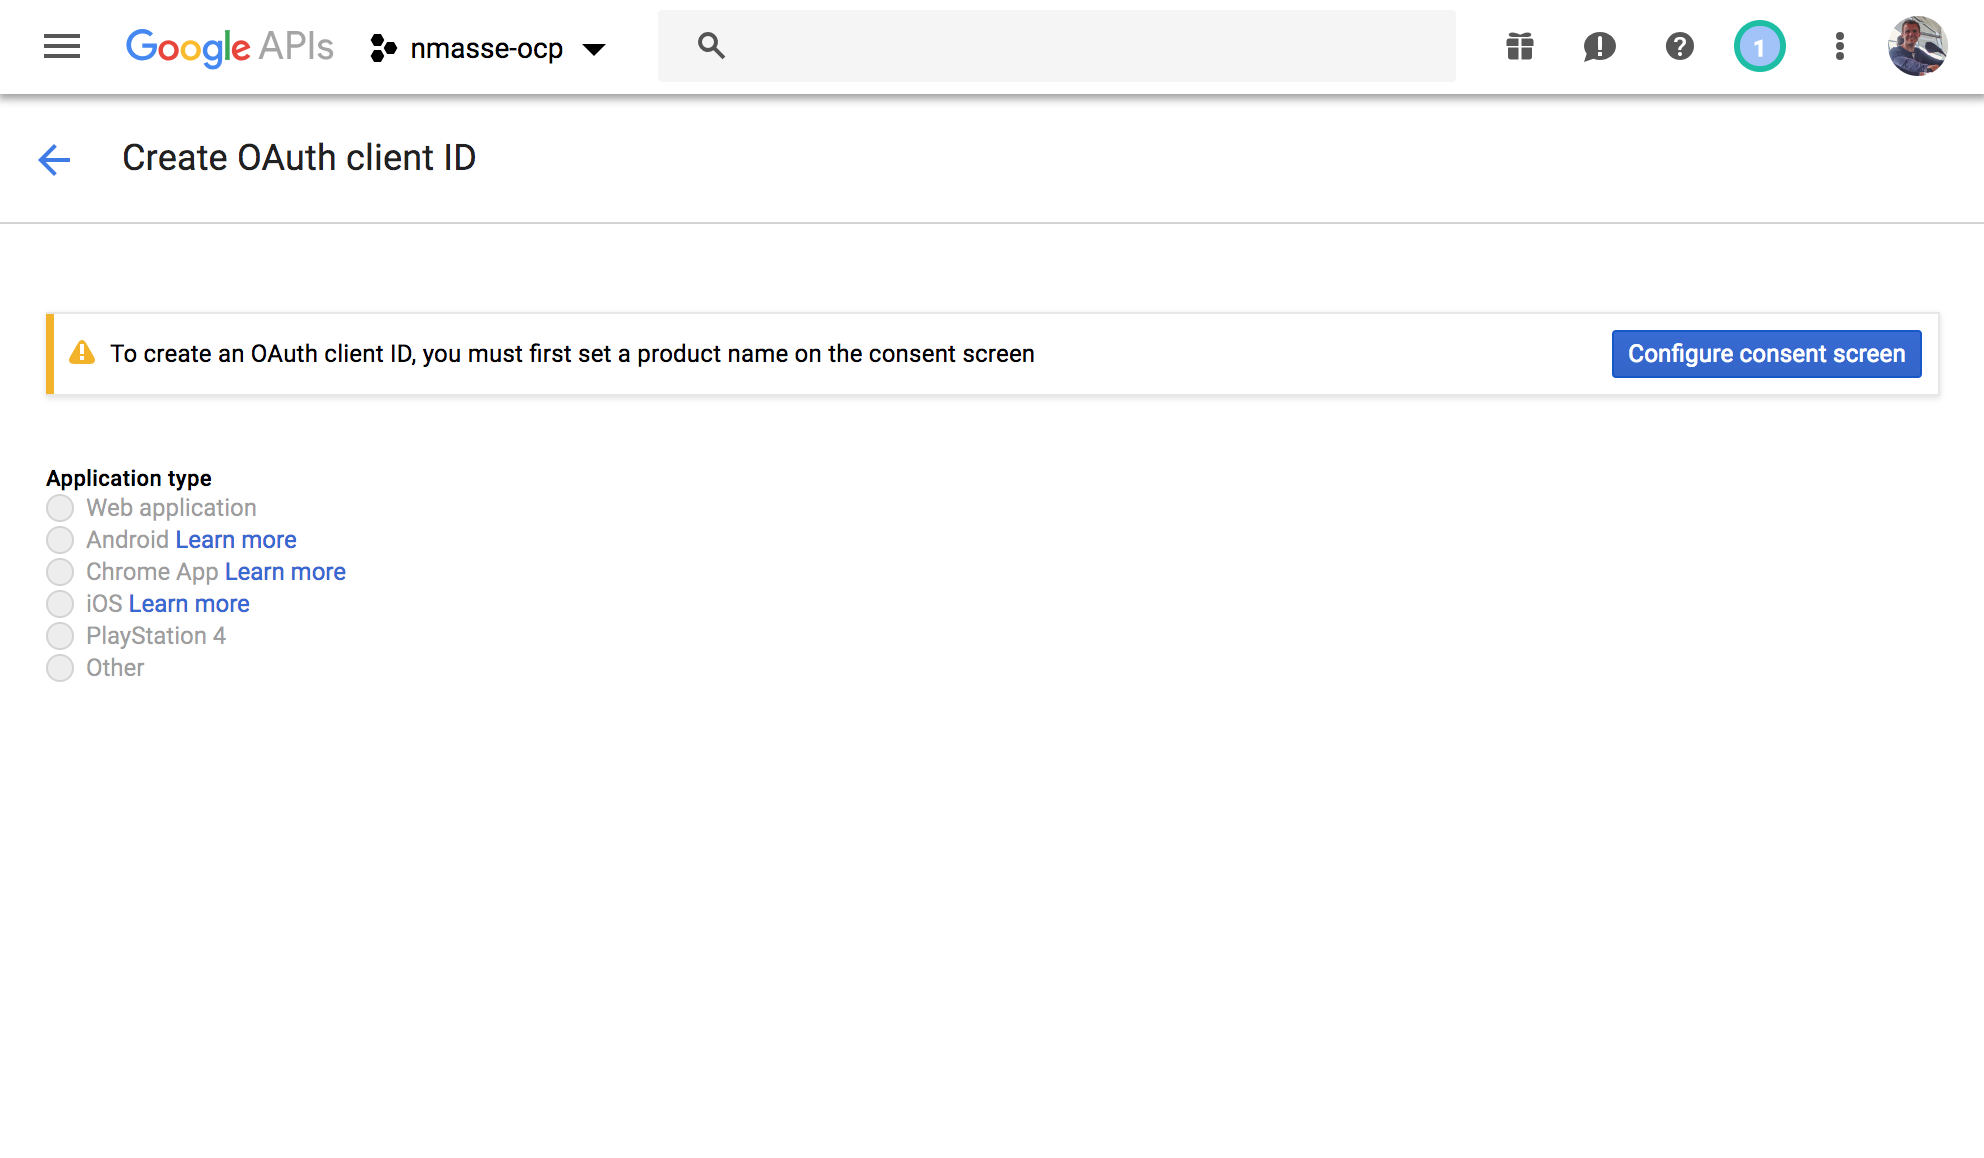
- In the product name, type something meaningful such as
OpenShiftand clickSave.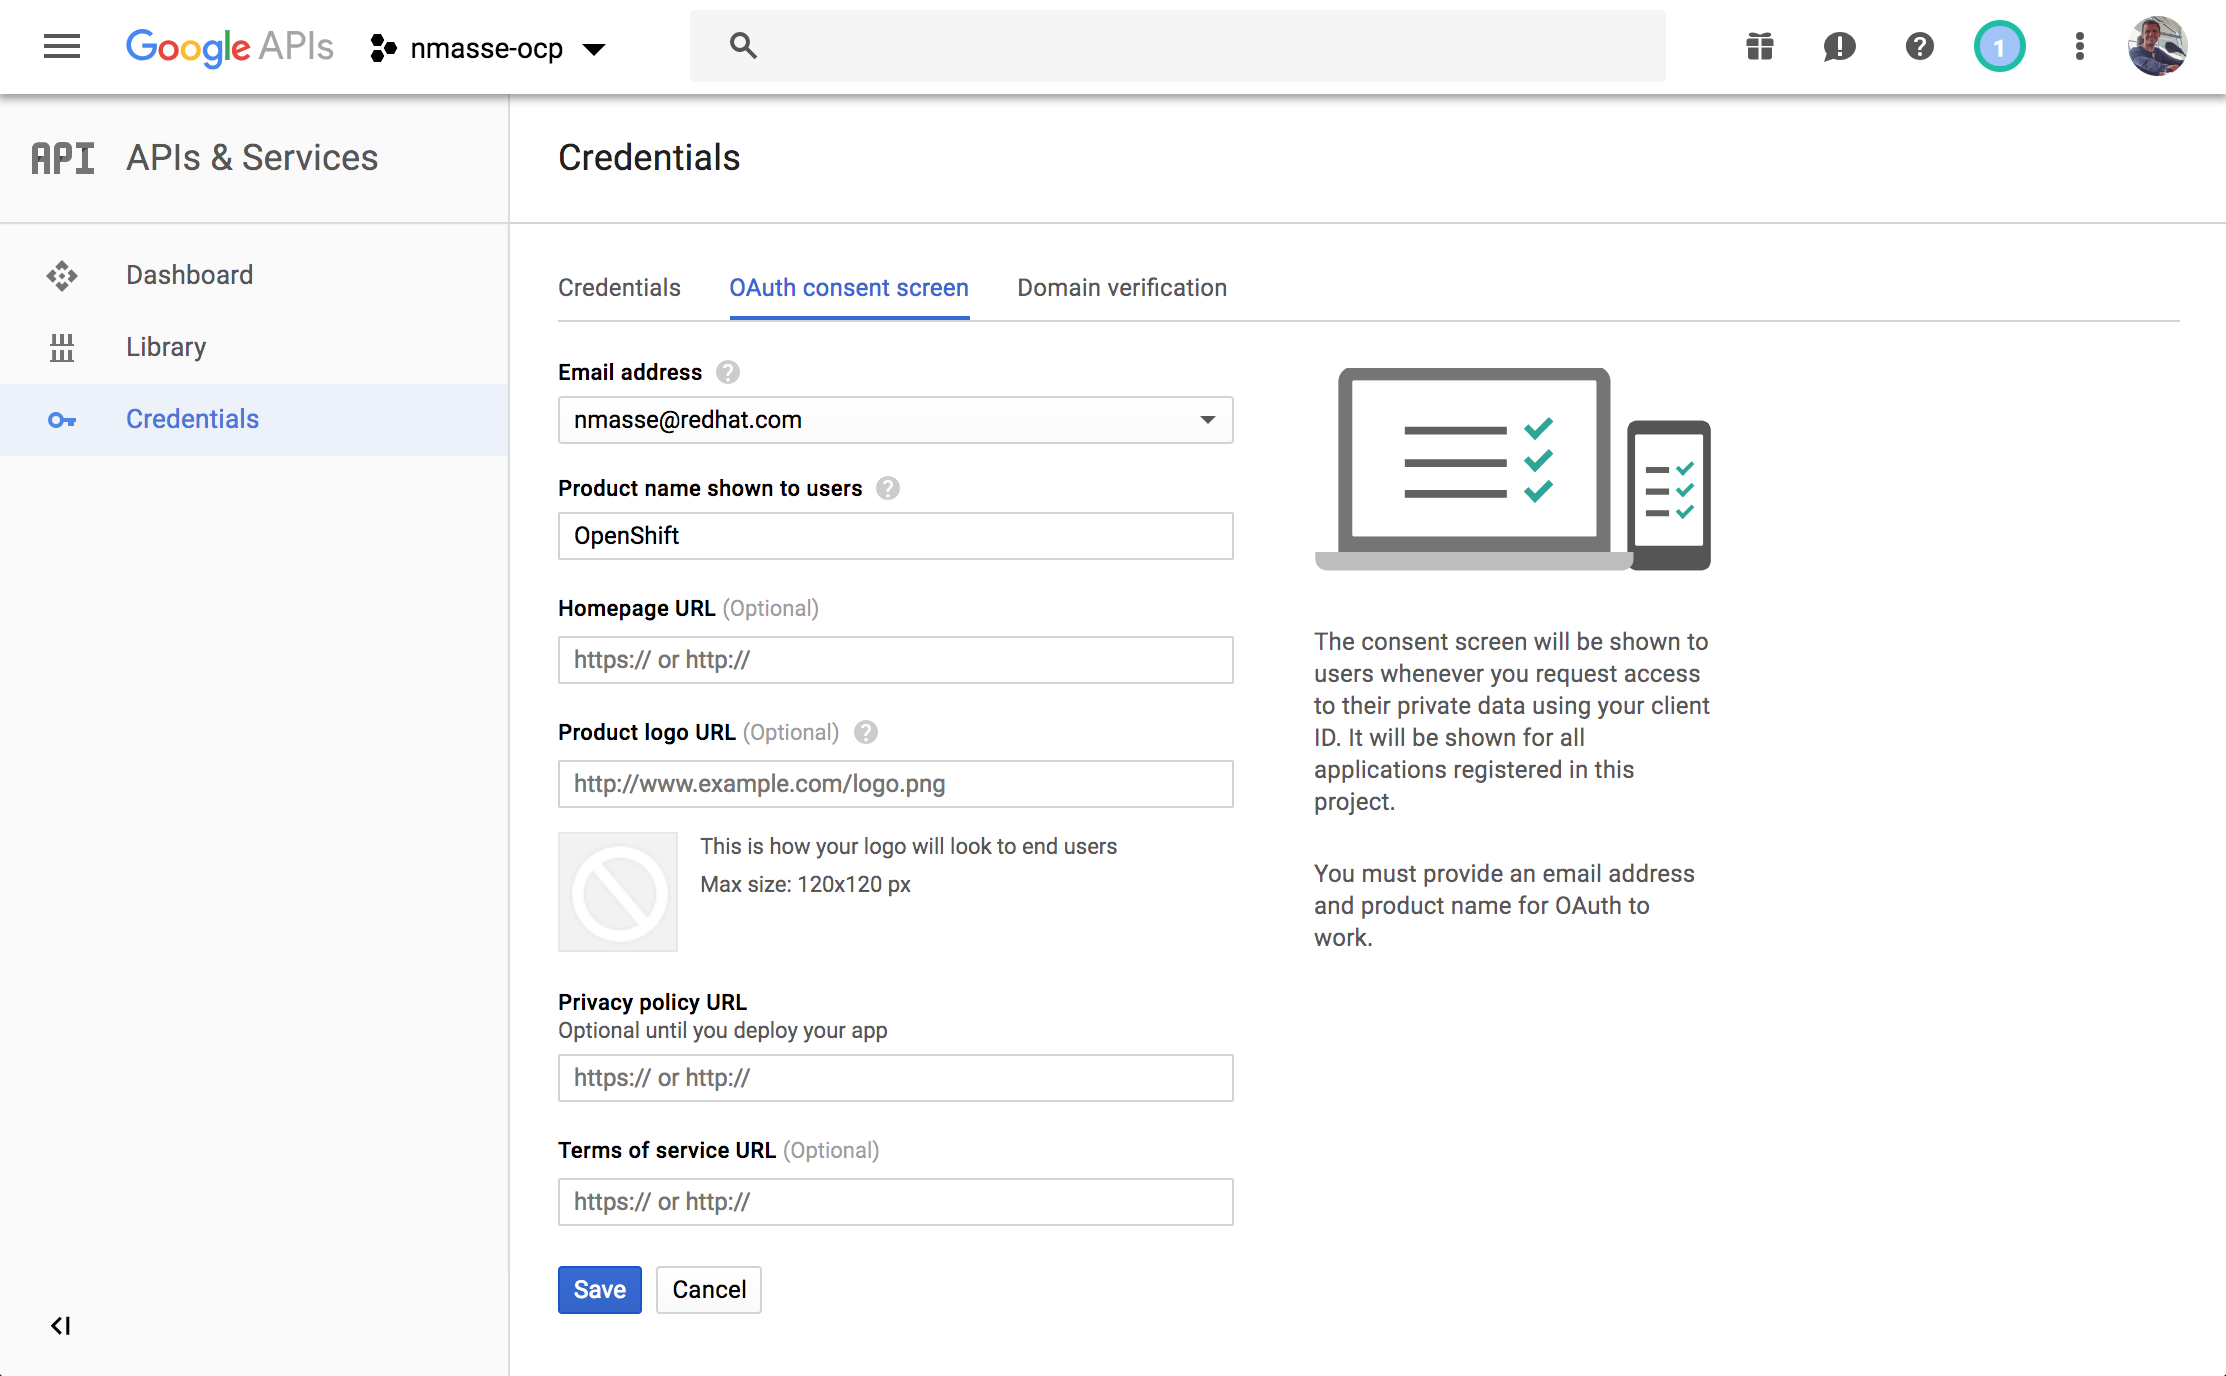
- Select
Web Applicationfor the application type and give it a name. - In the
Authorized redirect URIs, add the OAuth redirect URL of your OpenShift master. The URL ishttps://, followed by the master public hostname, followed by a colon and the port if it is not standard (eg.:8443), followed by/oauth2callback/, followed by the id of the identity provider in themaster-config.yaml(in the rest of this guide, I will useRedHat). This should give a URL like this:https://openshift.itix.fr:8443/oauth2callback/RedHat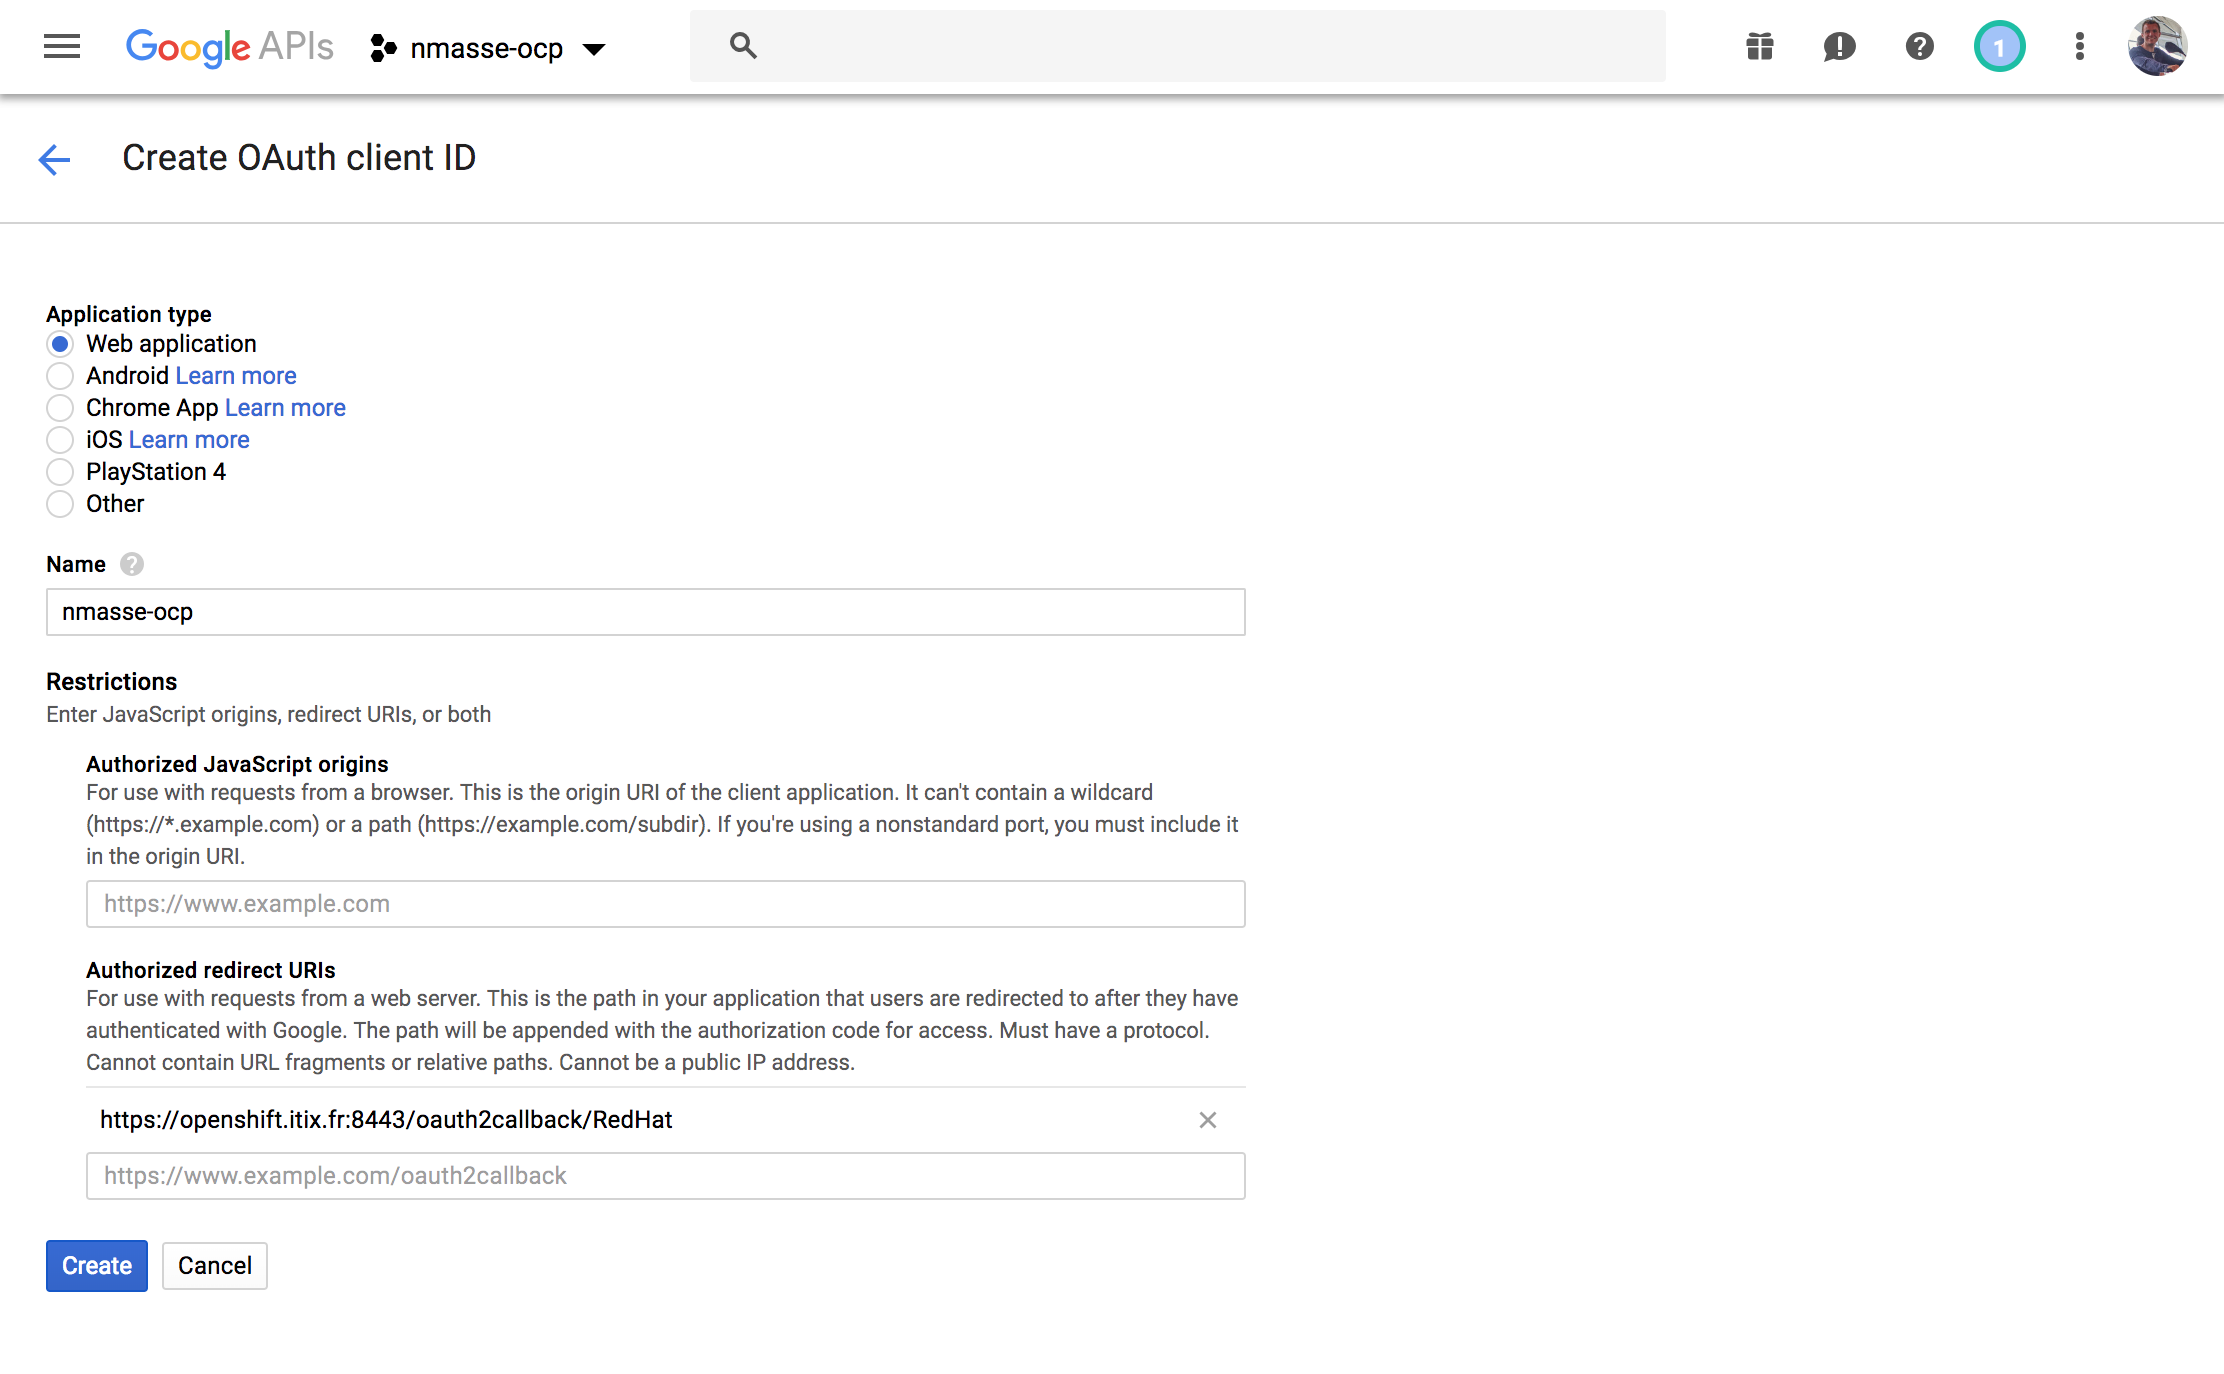
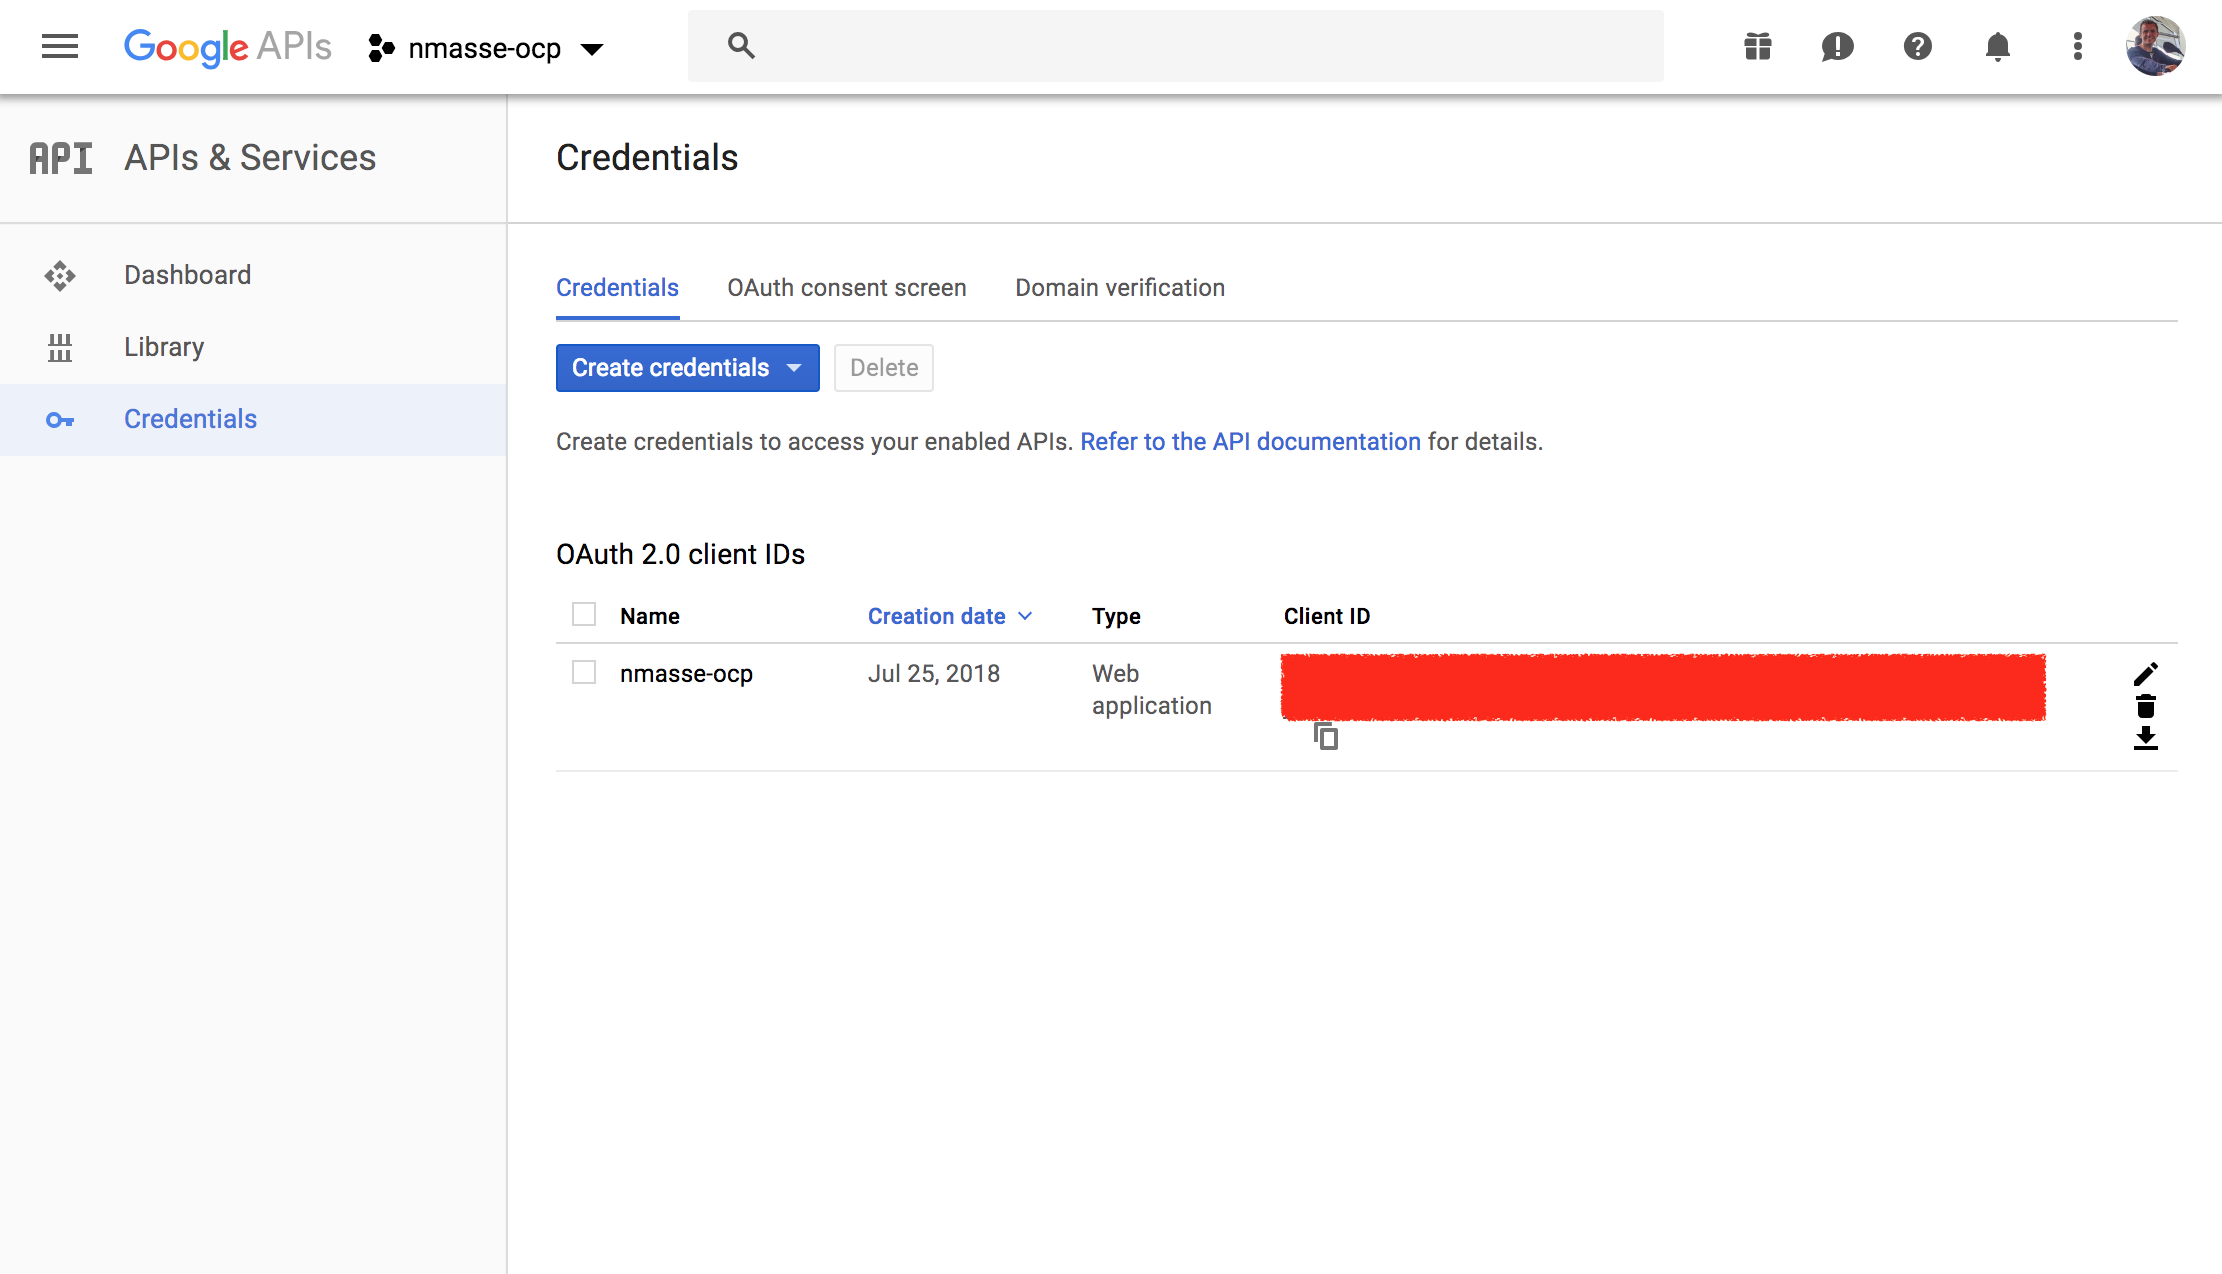
- Write down the generated
client_idandclient_secret.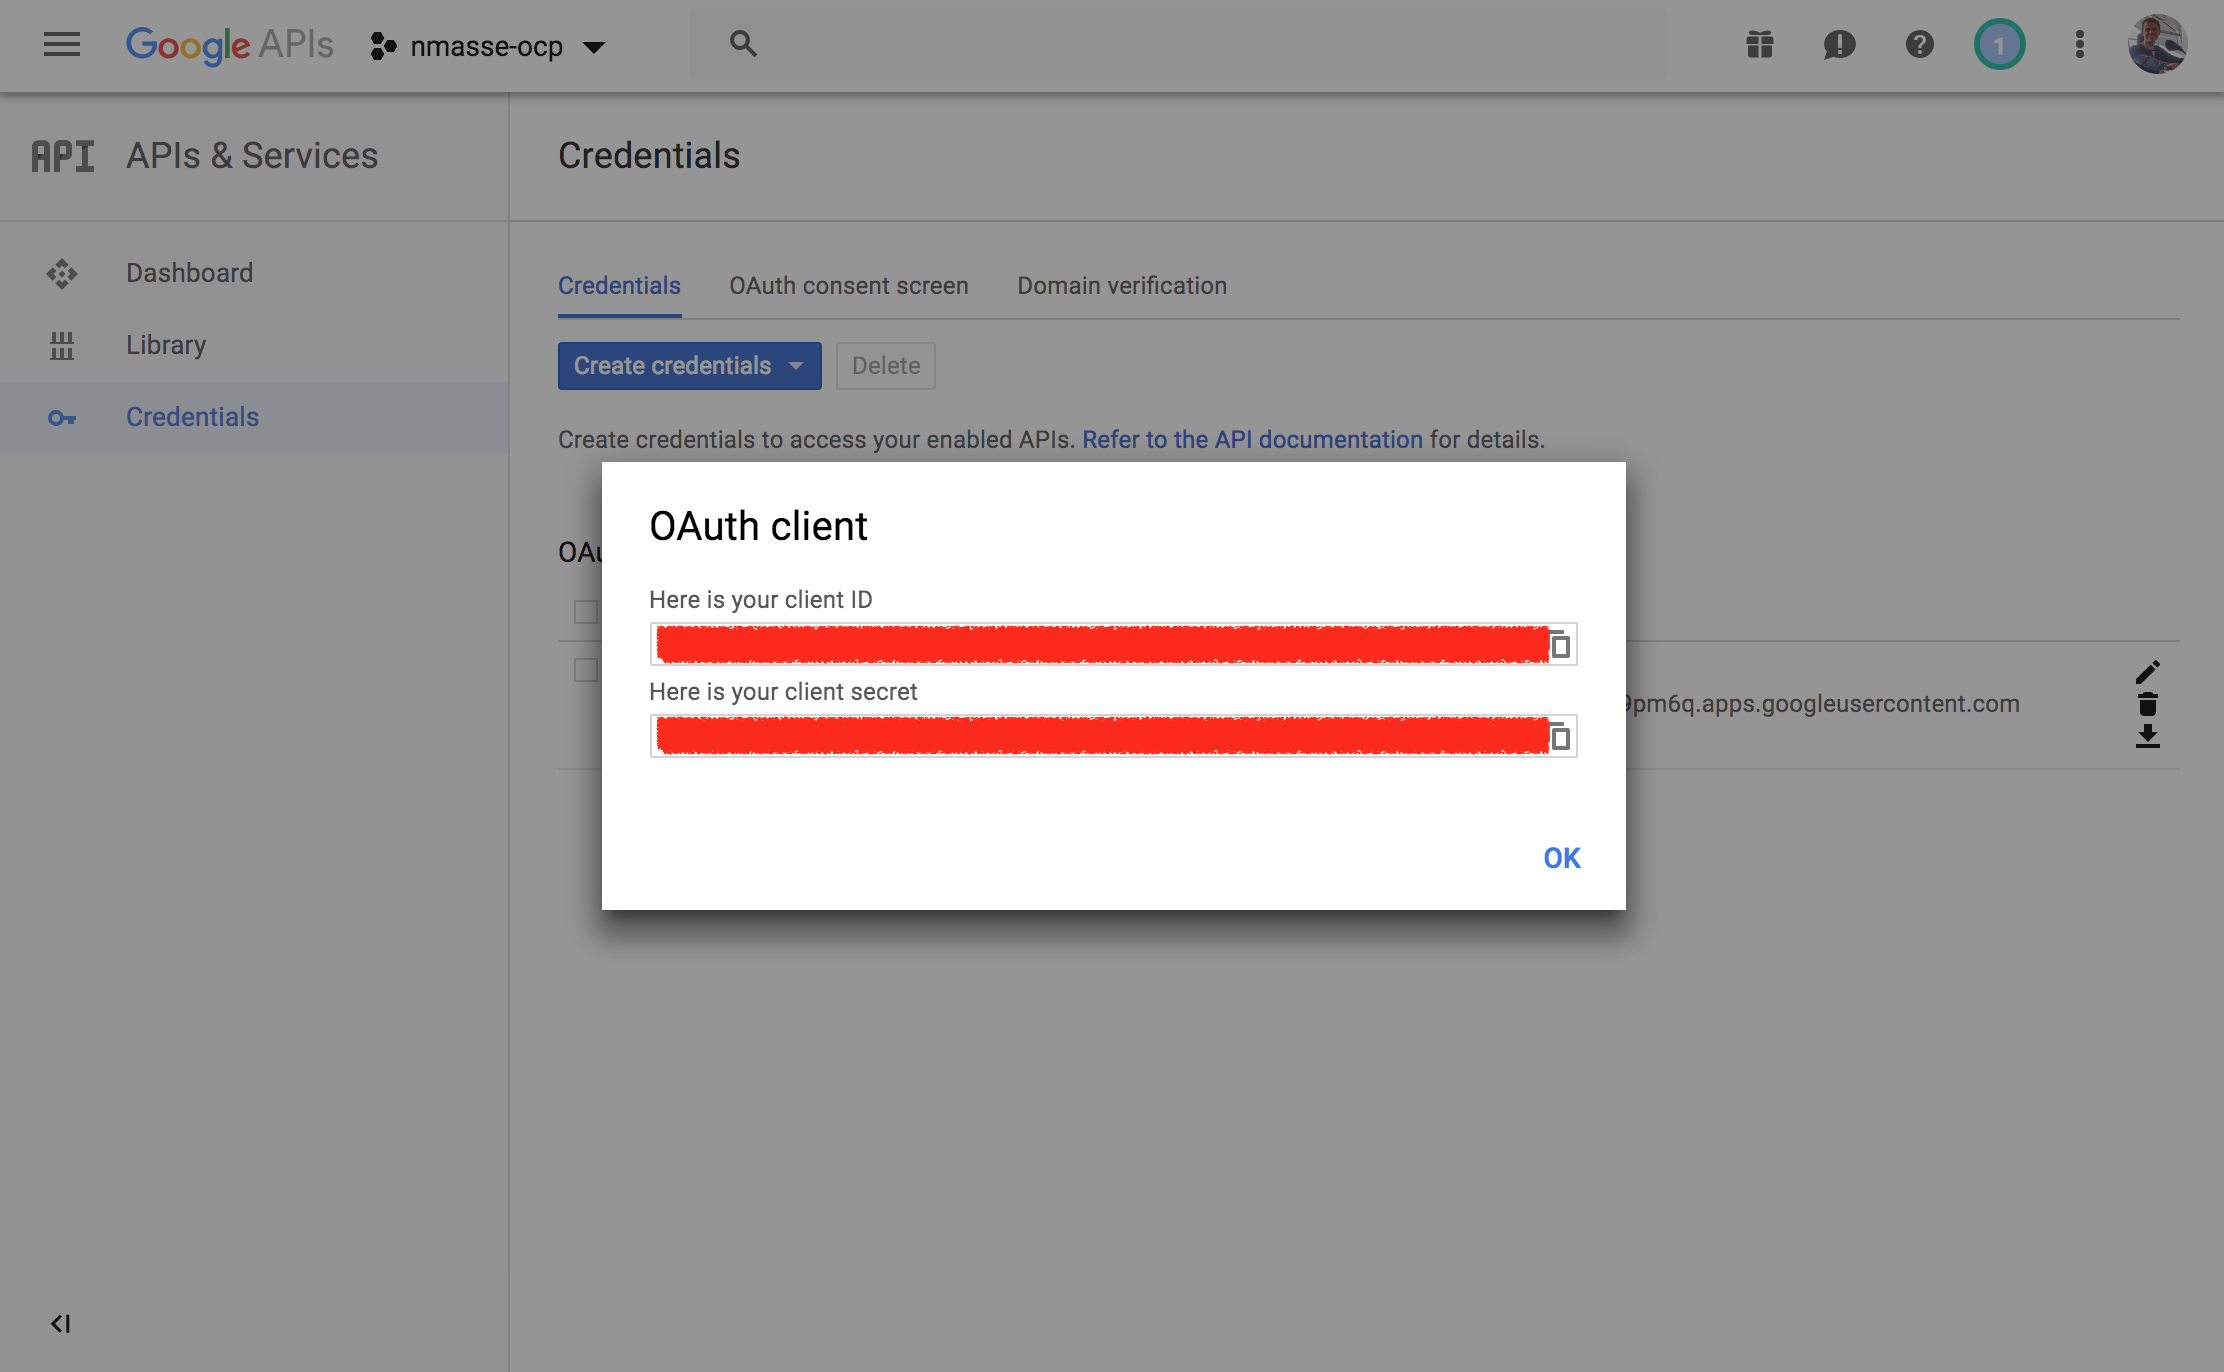
Configure the OpenShift master
- Login as
rooton your OpenShift master. - Open
/etc/origin/master/master-config.yamlin your favourite text editor. - Drill down to the
oauthConfigsection,identityProviderssections and add a new entry:
oauthConfig:
  identityProviders:
  - name: RedHat
    challenge: false
    login: true
    mappingMethod: claim
    provider:
      apiVersion: v1
      clientID: <paste the generated client_id here>
      clientSecret: <paste the generated client_secret here>
      hostedDomain: redhat.com
      kind: GoogleIdentityProvider
- Save the file and restart the master services:
systemctl restart atomic-openshift-master-api
systemctl restart atomic-openshift-master-controllers
Give it a try
- Go to your OpenShift console.
- Click on
RedHatif you are prompted with a list of identity providers. - You should be redirected to Google for authentication. If your web browser is already logged in on Google services, you should just have to consent. Otherwise, you will have to authenticate before consenting.
- You should be logged in.
Granting rights
When you want to give additional rights to one of your team mates, just login
as cluster-admin on your OpenShift master (for instance by logging as root
on your master) and use the oc adm policy add-cluster-role-to-user or
oc adm policy add-role-to-user to grant rights to the user.
For instance, to give the cluster-admin role to a user named nmasse@redhat.com, use the following command:
oc adm policy add-cluster-role-to-user cluster-admin nmasse@redhat.com
If you want to give local admin rights on a project named default to a user named nmasse@redhat.com:
oc adm policy add-role-to-user admin nmasse@redhat.com -n default
If you want to give the view rights on a project named openshift to a user named nmasse@redhat.com:
oc adm policy add-role-to-user view nmasse@redhat.com -n openshift
Removing rights
Maybe did you noticed that every user that login on your OpenShift cluster has default access rights that entitle him or her to create projects and resources on your cluster ?
You can remove those default rights with this command:
oc adm policy remove-cluster-role-from-group self-provisioner system:authenticated:oauth
You can instead give this right individually to your team mates:
oc adm policy add-cluster-role-to-user self-provisioner nmasse@redhat.com
Working together on a shared OpenShift instance
Now that your OpenShift instance can authenticate any Red Hat user, you can share your instance with your team mate! Just give the URL of your master and that's it!
Once your team mate is logged in using his Red Hat account, he or she can ask you privileges
that you can give using the oc adm policy add-role-to-user command.
Provisionning the Identity Provider configuration from the Ansible inventory
Once you are happy with your setup, you can configure the Identity Provider from within the Ansible inventory.
In the inventory file you used to provision your OpenShift instance, you can add:
[OSEv3:vars]
 openshift_master_identity_providers=[ { "name": "RedHat", "challenge": false, "login": true, "mappingMethod": "claim", "provider": { "apiVersion": "v1", "clientID": "<paste the generated client_id here>", "clientSecret": "<paste the generated client_secret here>", "hostedDomain": "redhat.com", "kind": "GoogleIdentityProvider" } } ]
Do not forget to replace the client_id and client_secret by yours !
If you need to provision multiple clusters, you can re-use the same client_id/client_secret.
You just need to add the new redirect URI:
- Go to the Google Developer Console.
- Make sure your project is selected in the top left corner.
- Click on the application you created before.
- Add the OAuth callback URL of your new OpenShift cluster to the
Authorized redirect URIs. - Click
Save.